How To Export And Upload Files For Self Cover Saddle Stitch Books
The best way to start your book design is to download our Adobe Indesign templates. These templates are set up so they can be properly exported as print-ready PDF files.
How to download templates for Self Cover Saddle Stitch Books
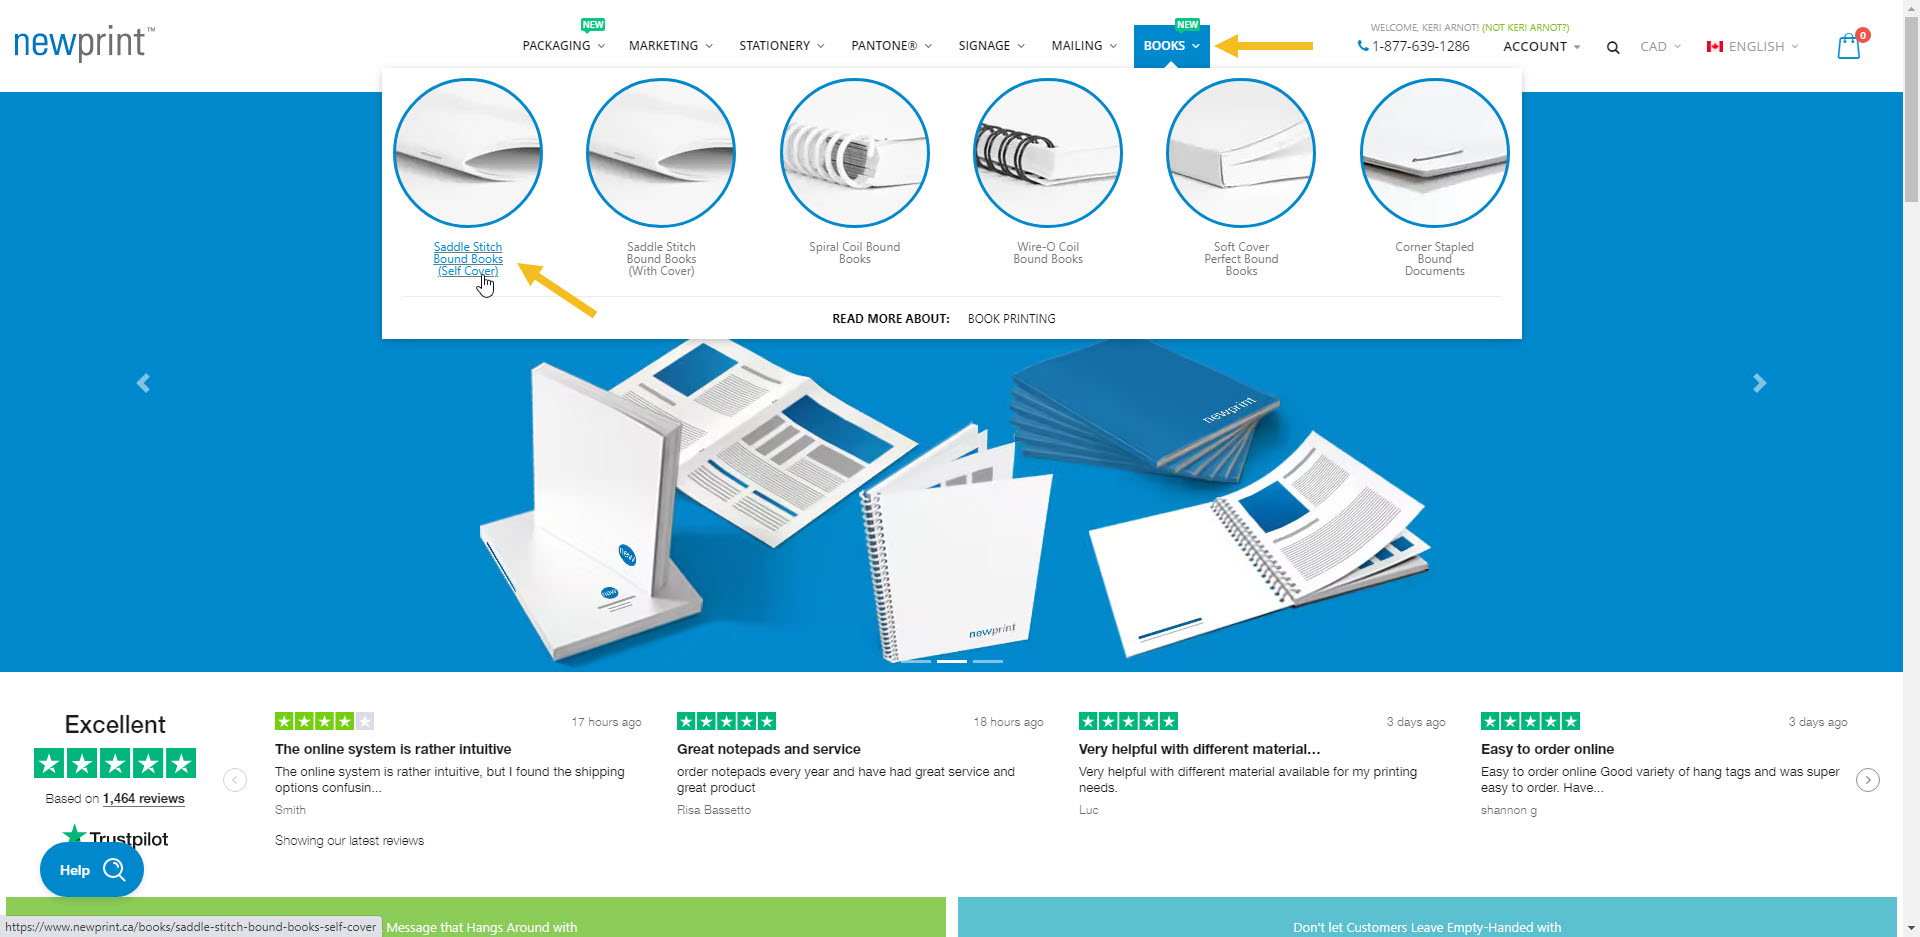
1. From the main menu, choose Saddle Stitch Bound Books (Self Cover).
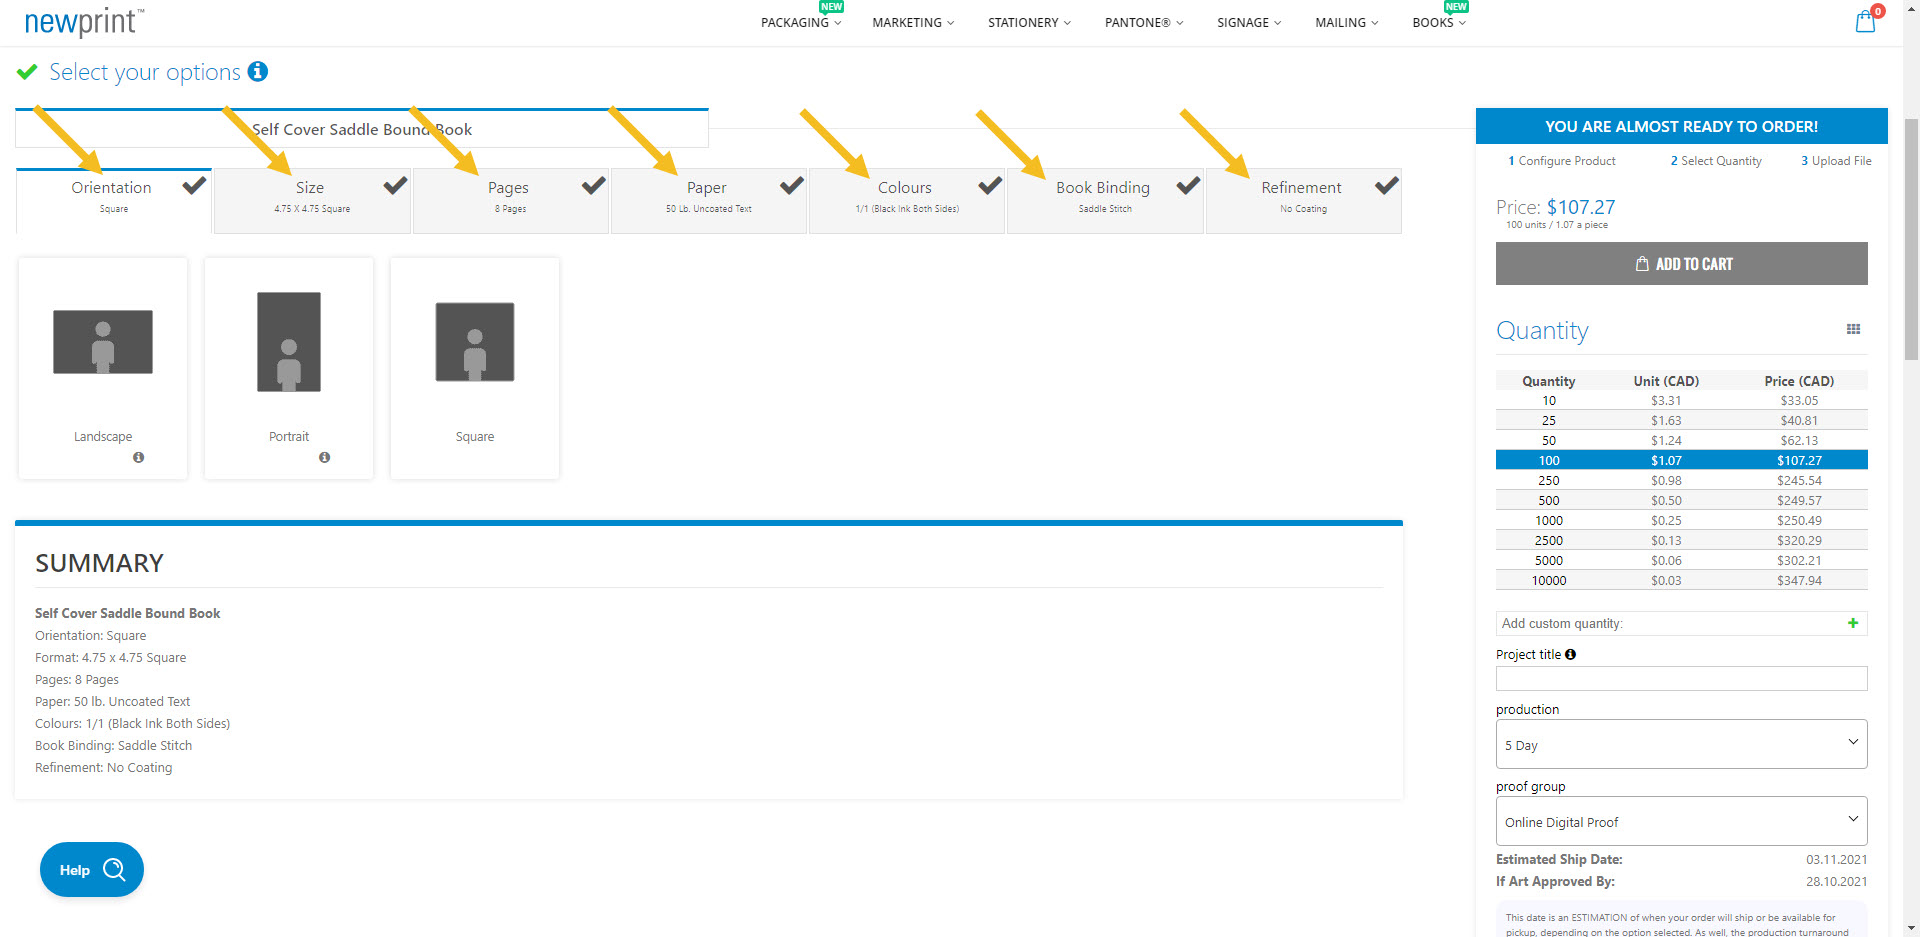
2. Make your selection for every product option.
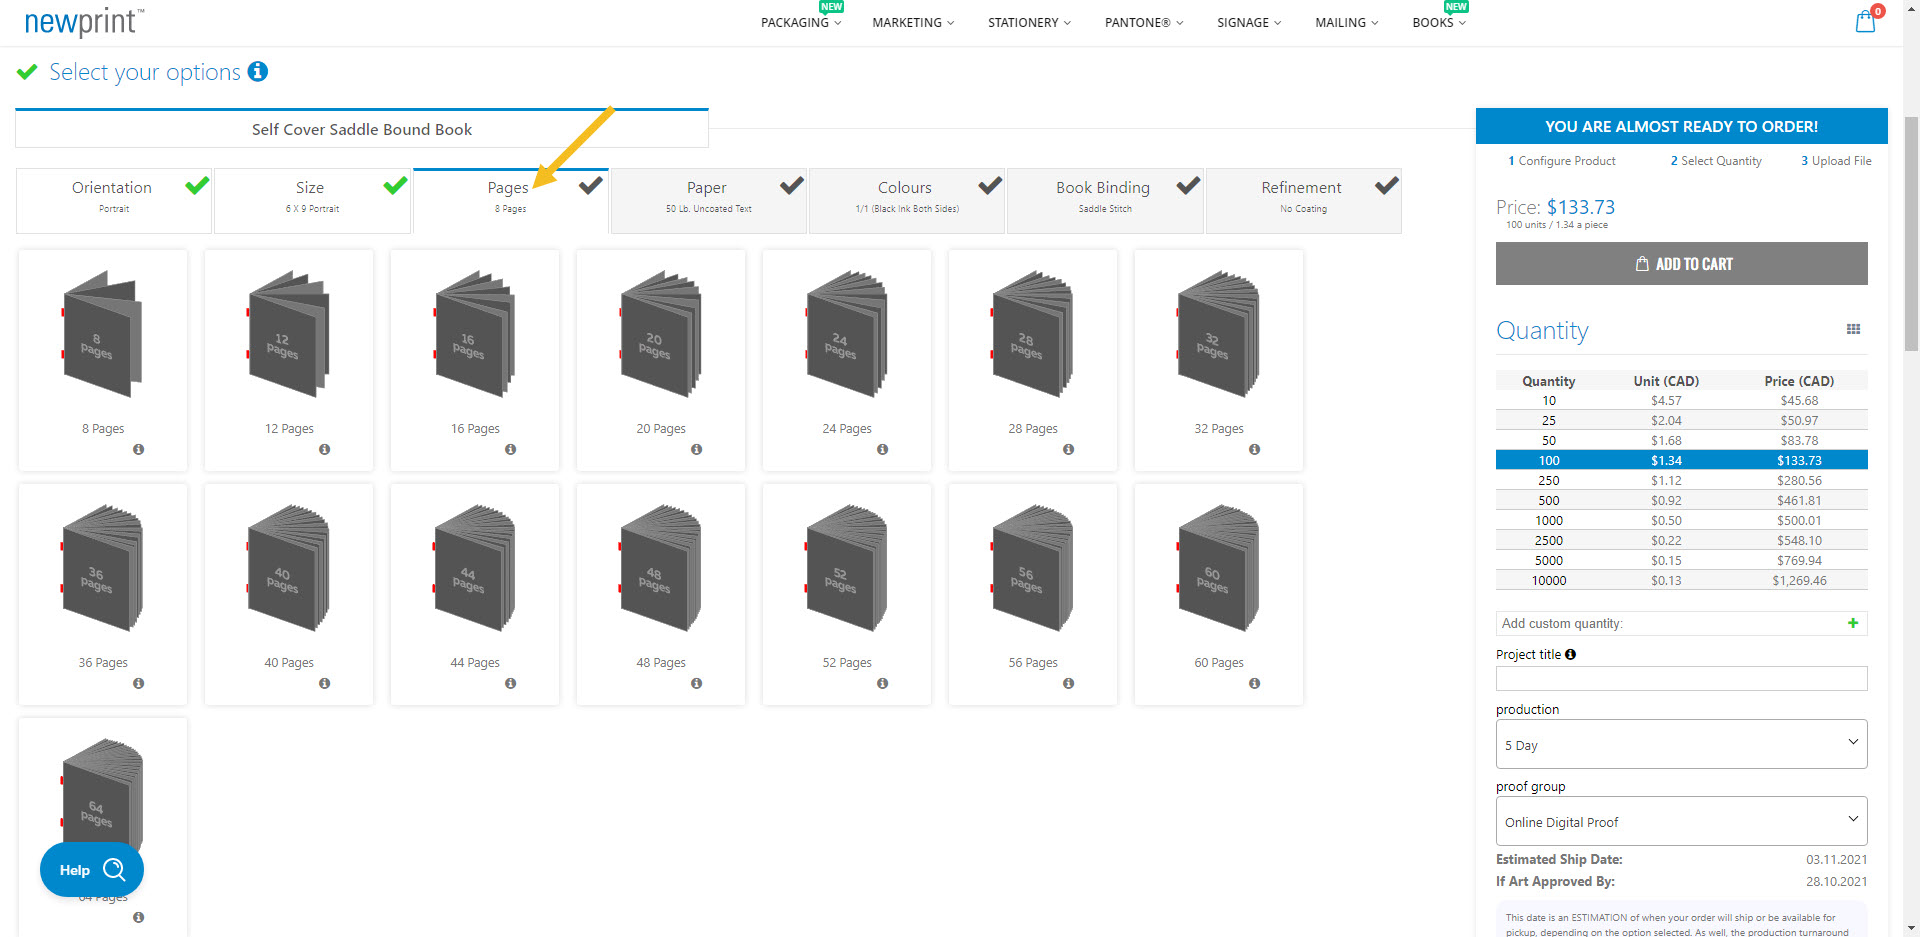
On the Pages tab, the number of pages you select will be the total number of pages in your book, including covers. For example, if you choose 20 pages, 16 will be inside pages and 4 will be cover pages.
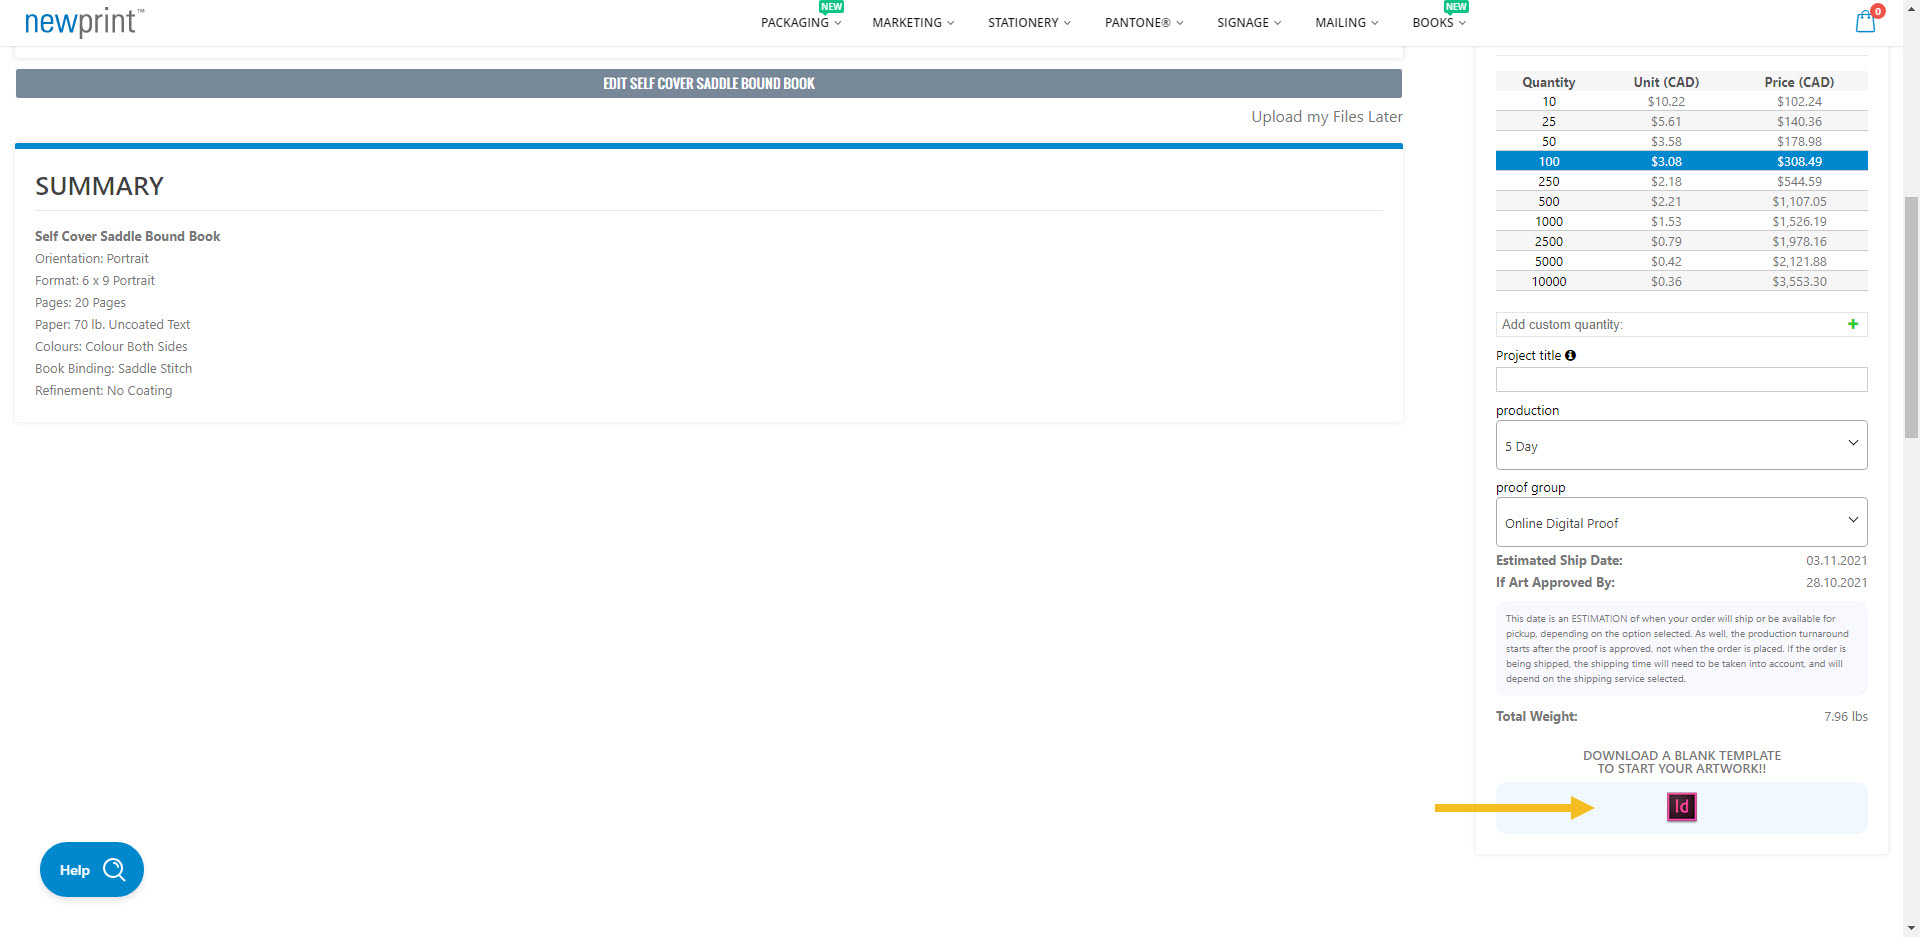
3. Once you have selected the last product option, scroll down and download your Adobe InDesign template. This template will match the product options you have selected.
How to use the InDesign template
You must place all of your design elements on the Your Design layer. The rest of the layers are there to provide additional information and they are non-printable.

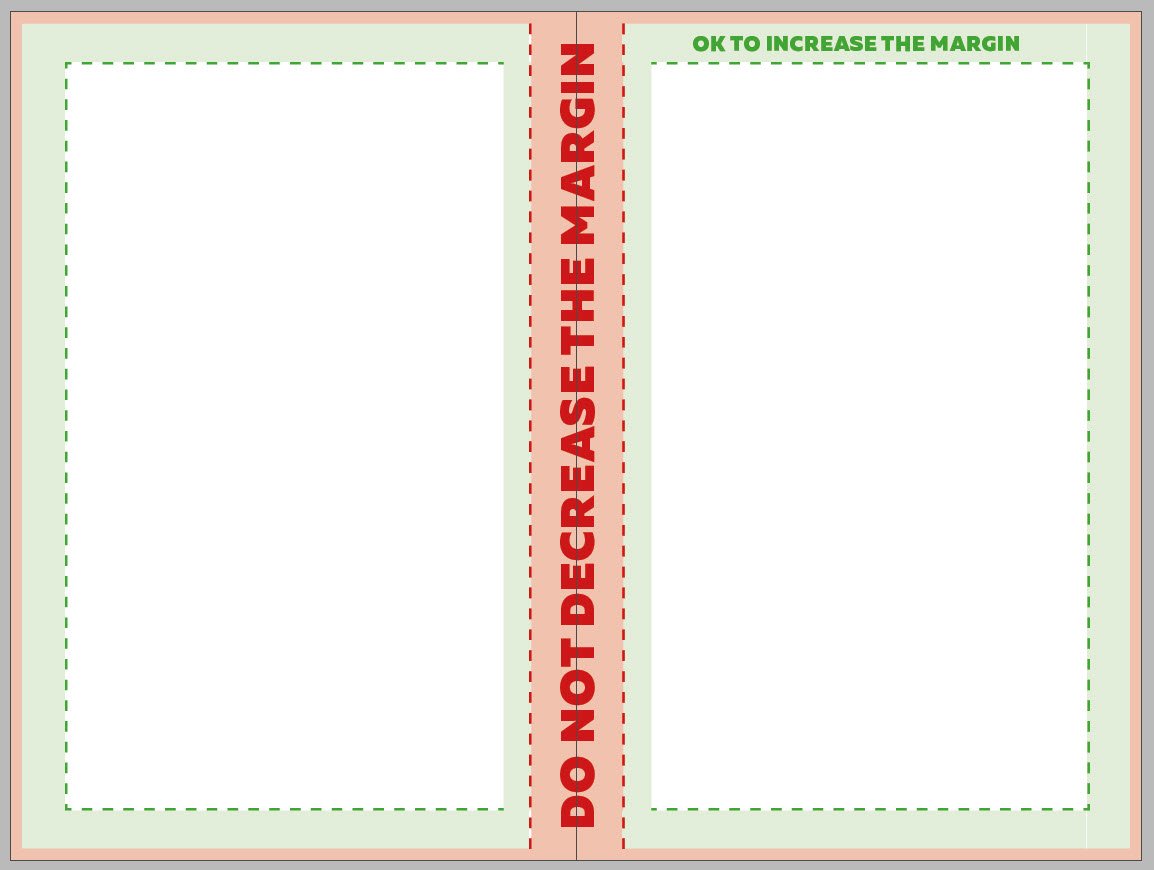
The inside margins of the template are set to the minimum values required by the print process. For aesthetic reasons, you can increase the inside margins to have more negative space, but you CAN NOT decrease the inside margins.
Important notes:
- In case some elements of your design need to print all the way to the edges of the paper, those elements must be extended to the bleed line.
- Do not modify the document dimensions.
- Keep all the important design elements (text, logos etc.) within the safe zones.
- If you use images in your design they must be set to 300ppi resolution and to CMYK colour mode.
- Stroke weight should be at least 0.25pt.
- The first two pages of your file will be the front cover (outside and inside), and the last two pages will be the back cover (inside and outside).
How to export a print-ready PDF file for Self Cover Saddle Stitch Bound Books
1. Turn off the visibility of all layers except the Your Design layer.
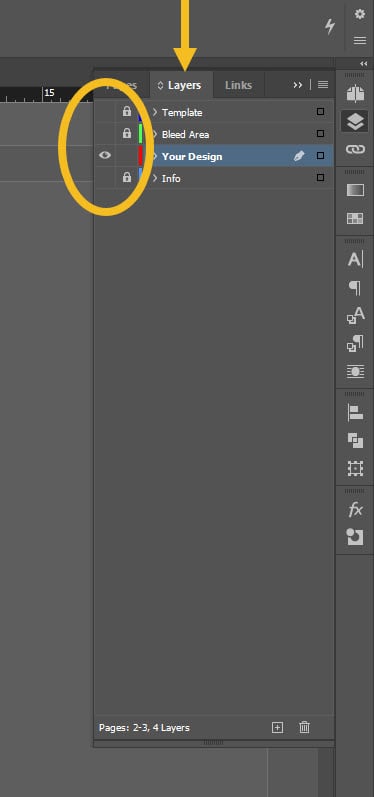
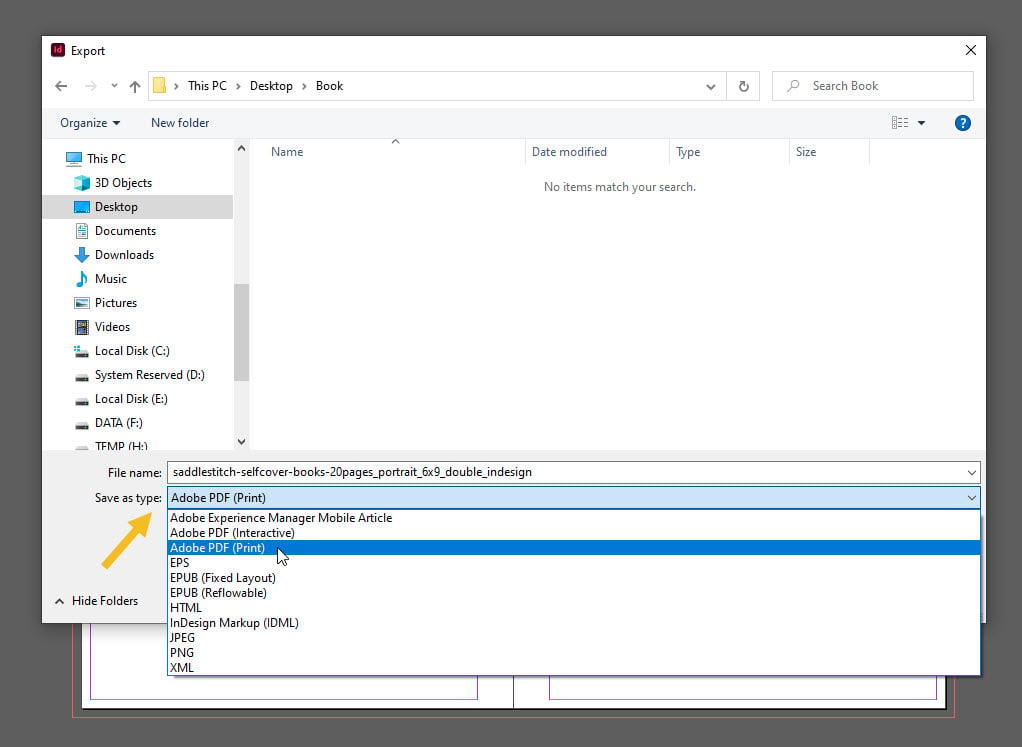
2. Go to File / Export. For file type, choose Adobe PDF (Print) and click Save.
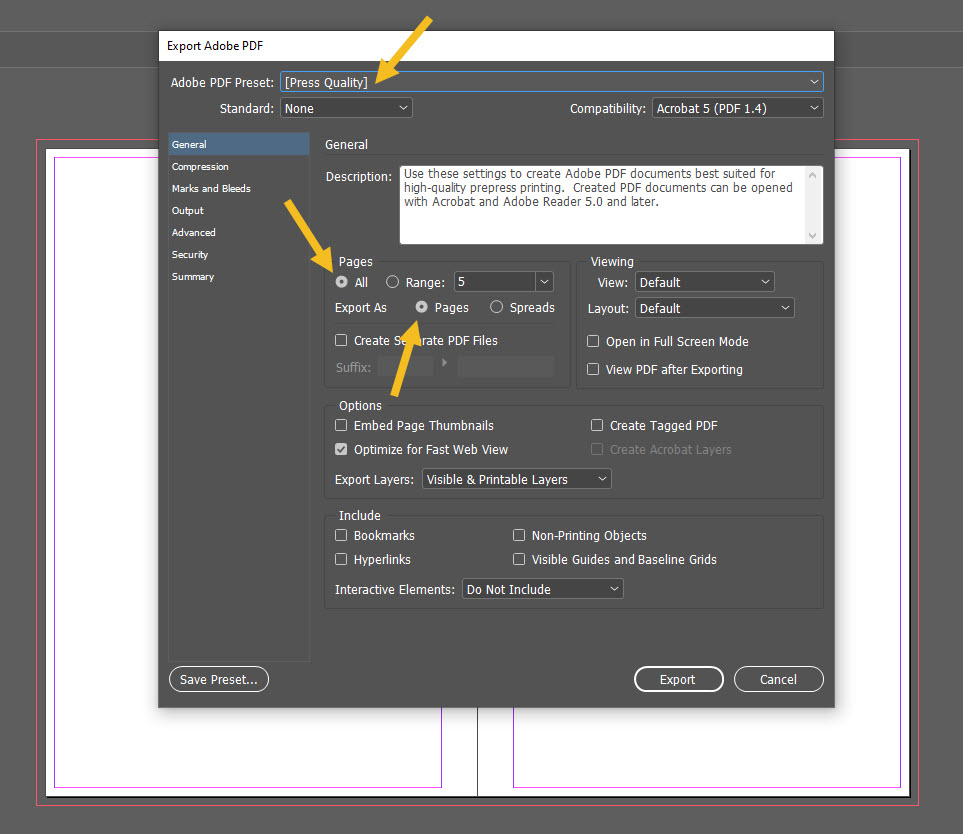
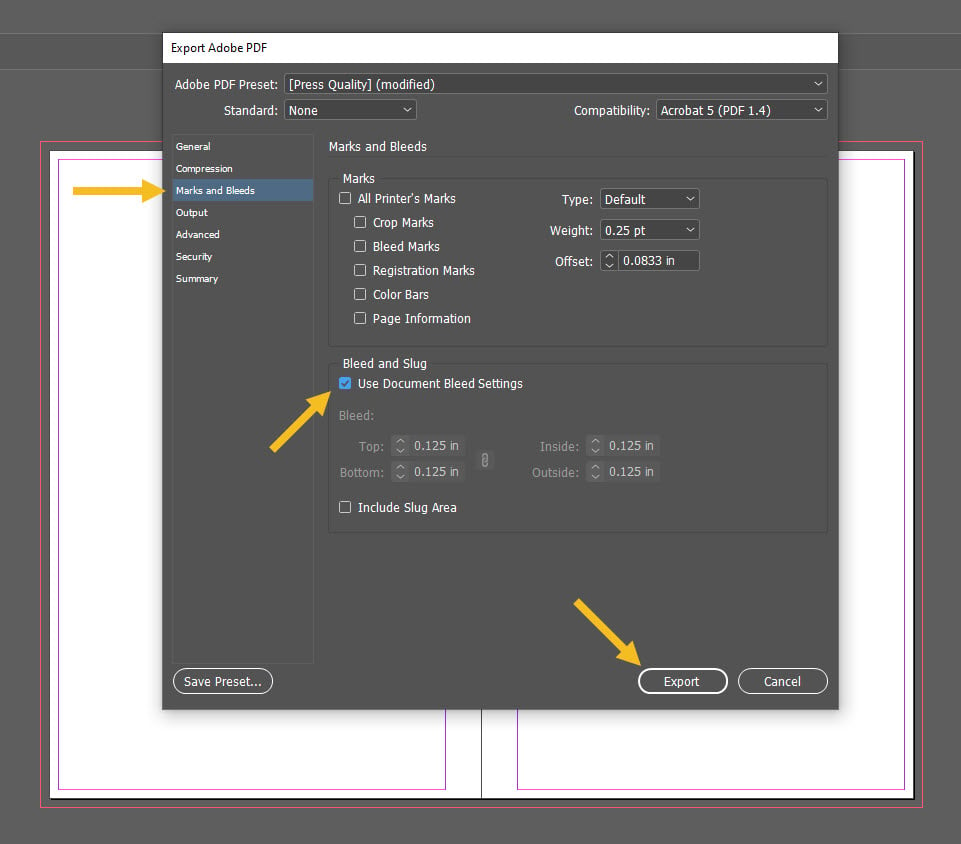
3. A new dialog box will appear that lets you choose your PDF options. Select the Press Quality preset, select All Pages and Export As Pages.
Go to the Marks and Bleeds tab and only check Use Document Bleed Settings. Then click Export.
How to attach a PDF to your online order
Log in to your Newprint account and configure your saddle stitch book. This basically means repeating the first two steps in this tutorial. Once you make a selection for all product options, you will see an Upload button.
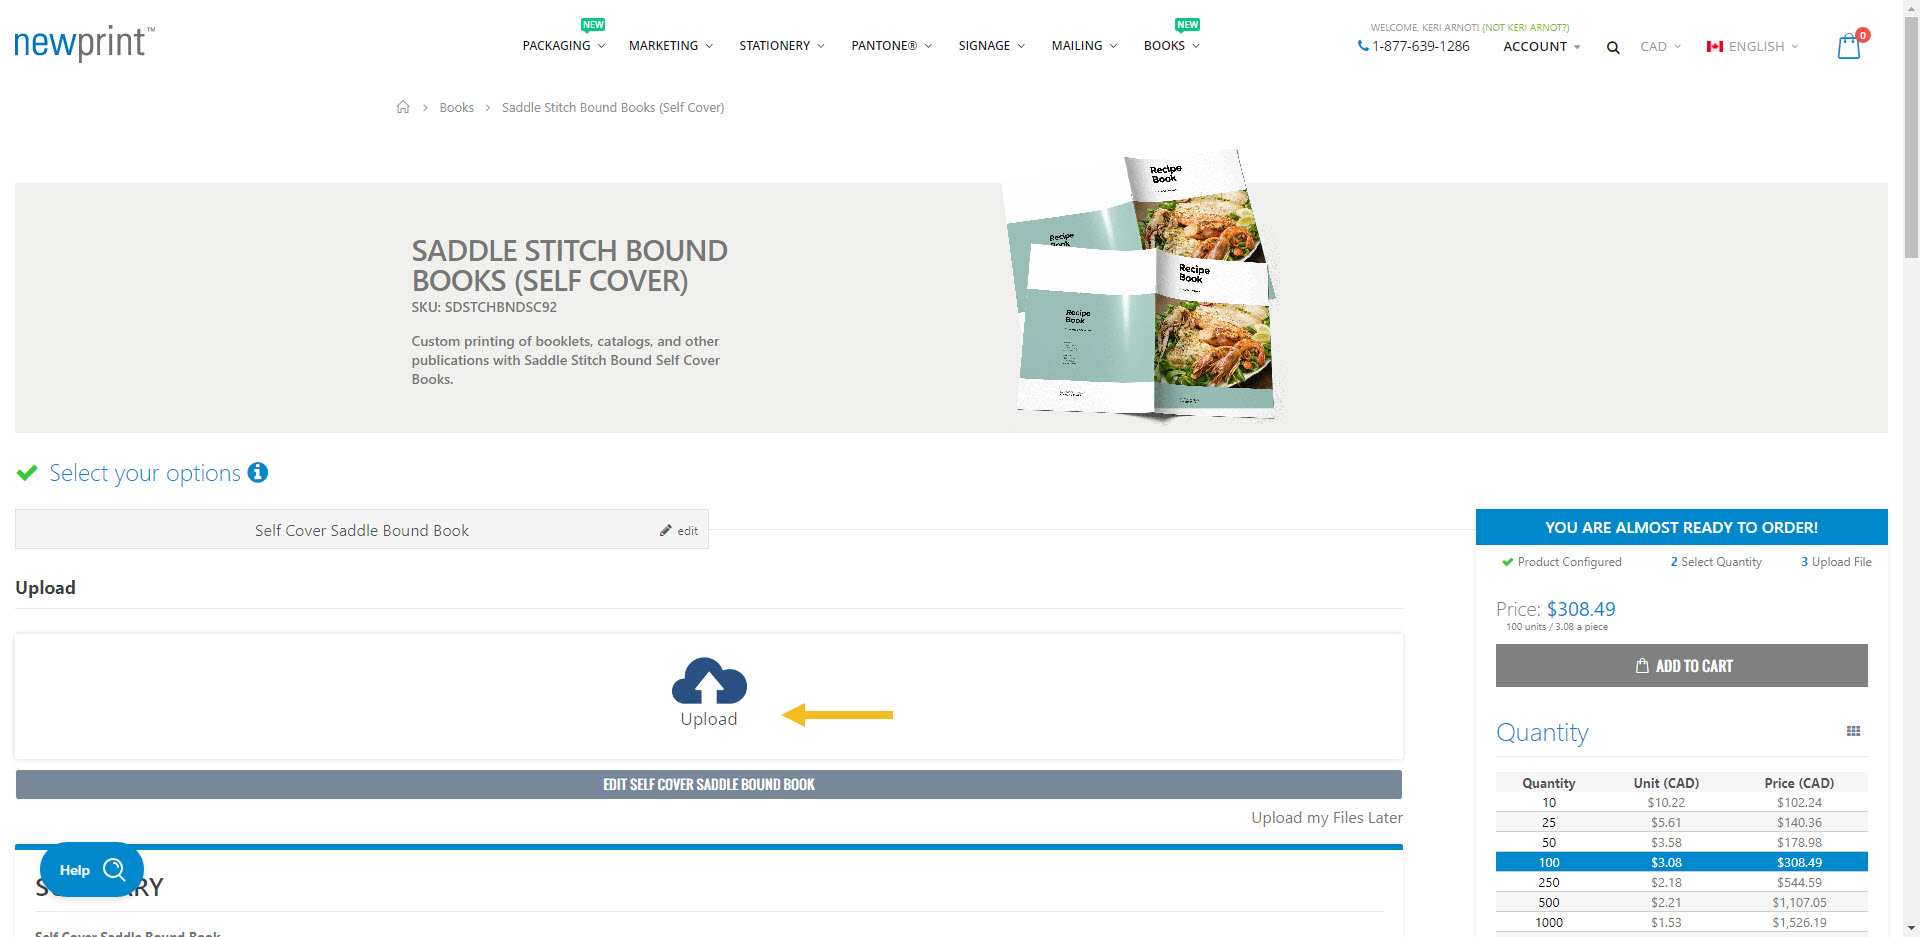
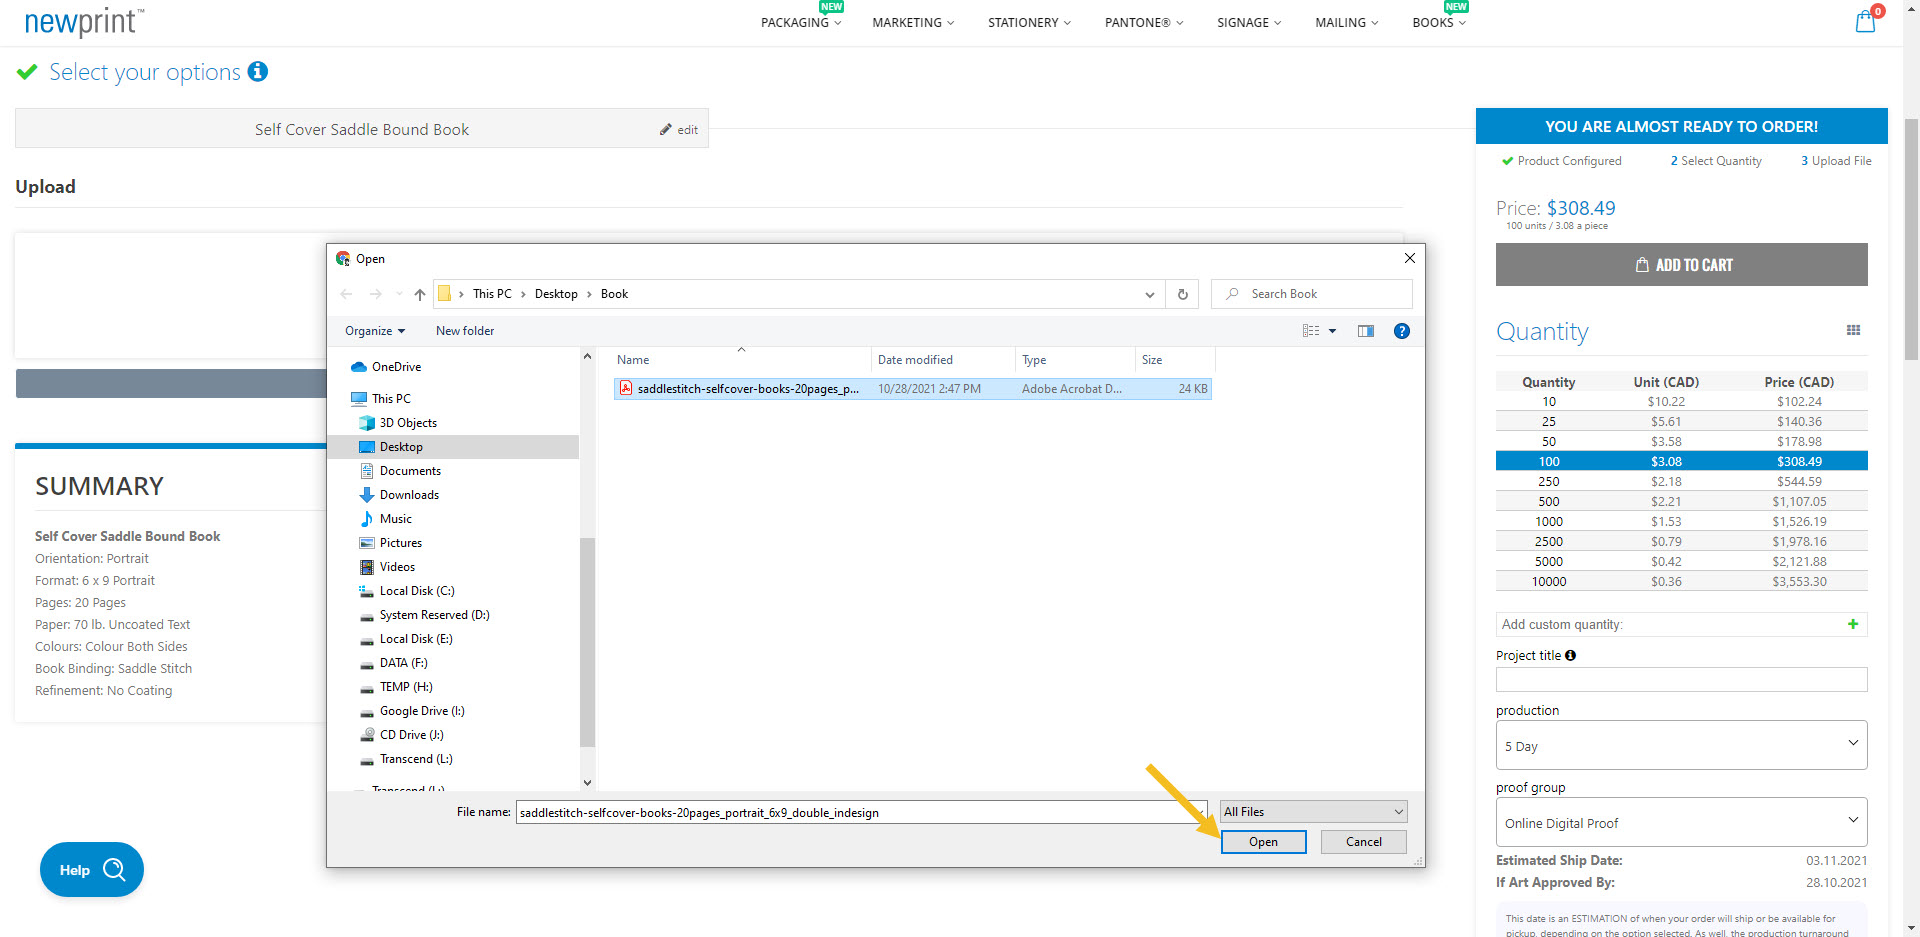
Click the Upload button and browse your PDF file. Click Open to upload your PDF.
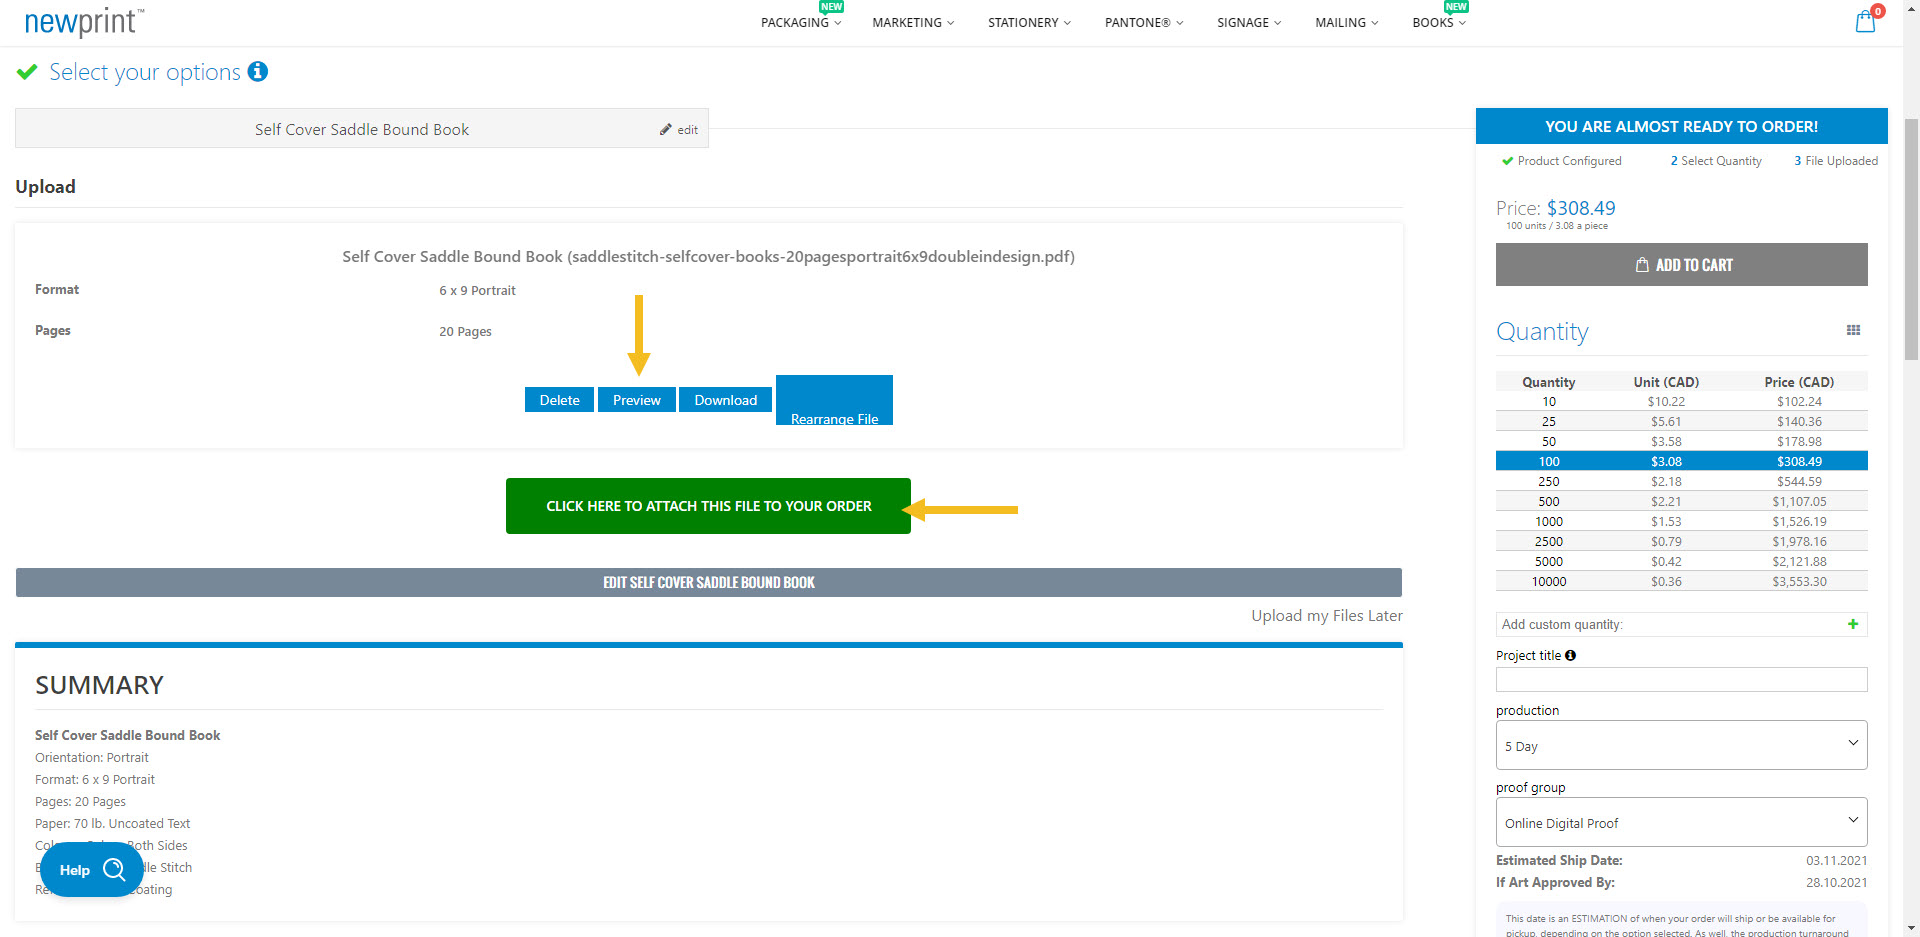
At this stage you will be able to preview your file and make sure that the page order is correct. To attach a PDF to your order, click the big green button.
Login and Registration Form
Get Started And Become the Next "Newprint's Best Customer"
For printing professionals looking for a wide selection of paper, printing, and related products, you have arrived at the perfect place. Sign up to explore all the options and be informed of all our offers.
If you are a printing broker reseller or purchasing agent, reach out to us to become a Certified Print Specialist.